


















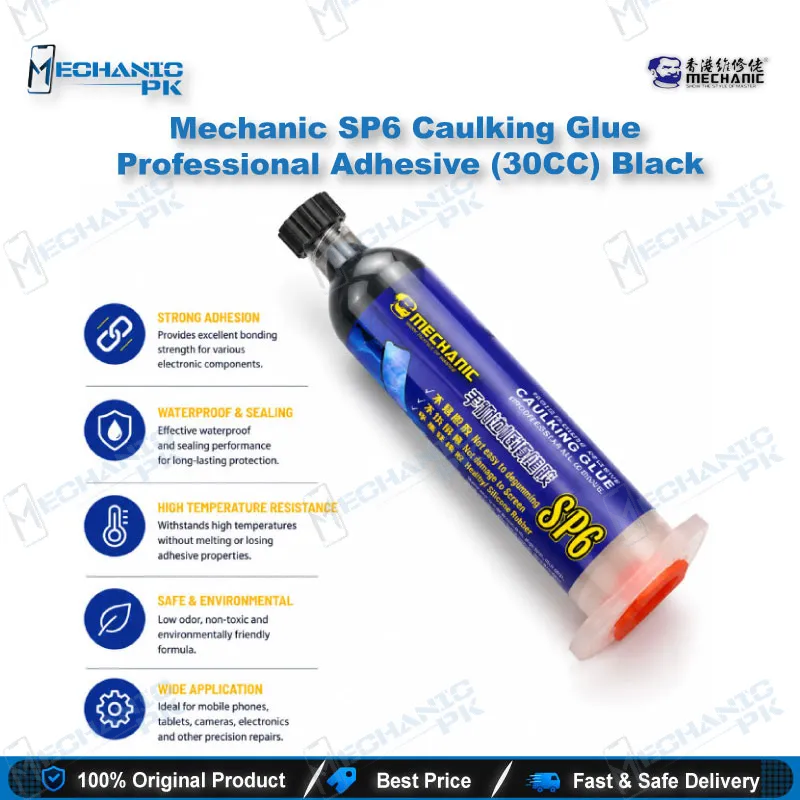
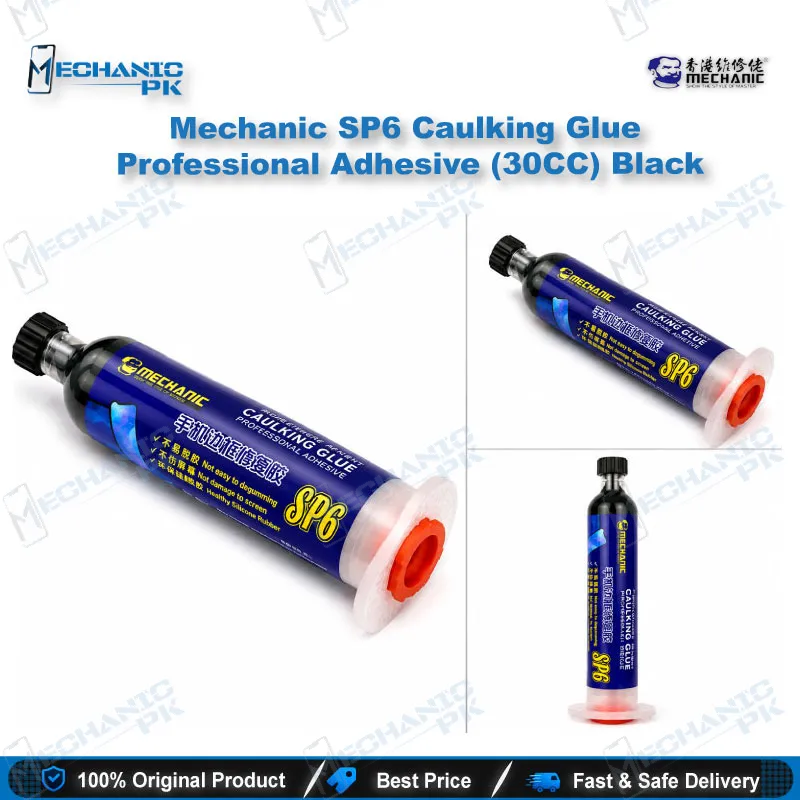
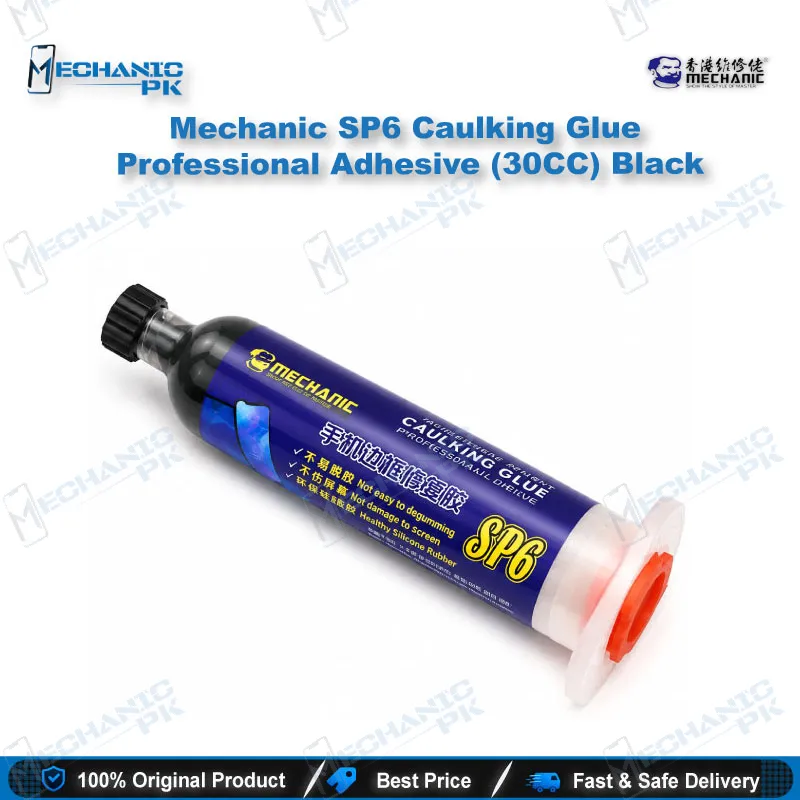
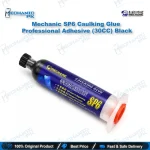
Mechanic SP6 Caulking Glue 30cc Black Adhesive
₨ 900
Black 30cc Caulking Glue for Controlled Mobile Repair Work
The Mechanic SP6 Caulking Glue comes in a 30cc black format sized for the repair bench. You get a controlled amount of adhesive for housing reassembly, panel edge sealing, and small bonding tasks where a clean, thin bead matters more than volume. Technicians who work on frames, bezels, and enclosures will find it a practical addition to the tool tray. Verify the product label before each job, then apply only what the repair needs.
In stock
SP6 Caulking Glue for Mobile Repair Workflows
A caulking glue earns its place on the bench when you need a measured bead rather than a flood of adhesive. The Mechanic SP6 Caulking Glue in 30cc black suits technicians who reassemble housings, seal panel edges, and secure small parts where neatness affects the finished unit. Your repair bench stays cleaner when the adhesive goes exactly where you put it. This guide covers where the product fits in your workflow, how to prepare the surface, and how to handle it between jobs.
Where It Fits in the Repair Workflow
Most adhesive work happens after the electrical repair is finished. You replace a board, reseat a display, or fix a charging port, then close the unit and secure the edges. That closing stage is where a caulking glue does its job. You apply it once the internal components are tested and the connectors are seated, so you never have to reopen a sealed unit to fix a fault you introduced during reassembly.
The stage also determines how much adhesive you need. A full bead along a frame seam uses more material than a few spots around a cutout. Plan the placement before you open the tube, and mark where the bead will run. This habit keeps your adhesive use consistent across jobs and reduces waste on your bench.
Preparing the Bond Surface Before You Dispense
Adhesive bonds only as well as the surface beneath it. Remove old residue, dust, and finger oil from the housing edges with a lint-free cloth and isopropyl alcohol. Let the surface dry fully before you dispense, because trapped solvent weakens the bond and can cloud the finish. Check that the parts are dry, aligned, and free from burrs that would stop them from seating flat.
Dry-fit the parts before you commit any adhesive. This test shows whether the frame closes evenly and whether the bead will be squeezed into areas you need clear. If a component sits proud or a clip will not engage, correct it now. Adhesive applied to a misaligned part often has to be scraped away, and that scraping can mark the finish.
Dispensing, Handling, and Storage on Your Bench
Apply a thin, continuous bead rather than a heavy line. A controlled bead spreads evenly when you press the parts together and leaves less excess to clean. Work in short sections on longer seams so you can wipe away overflow before it sets. Keep a dry cloth and a cotton swab within reach, because quick cleanup protects the screen edge and the body finish.
Wear gloves while you work, and keep the adhesive away from display surfaces and camera glass. Close the cap tightly after every session so the material does not dry out in the tube. Store the tube at room temperature, away from direct heat and sunlight, and keep it upright in your tool tray. Label the tube with the date you opened it so you know which stock to use first.
Reassemble the unit only after the adhesive reaches the condition stated on the printed label. Pressing parts together too early can shift them out of position. Give the bond the time it needs, then run a final functional test on the device. A clean seal with no stress on the flex cables is the result you want from this step.
| Weight | 0.15 kg |
|---|
Key Features
- 30cc capacity for bench-scale repair work
- Black color for a neat finish on dark housings
- Caulking glue format for controlled, thin beads
- SP6 model line from the Mechanic brand
- Compact size that fits the repair tool tray
- Suited to housing and frame reassembly
Specifications
| Brand | Mechanic |
|---|---|
| Model | SP6 |
| Category | Caulking glue adhesive |
| Color | Black |
| Volume | 30cc |
| Compatibility | Universal, not device-specific |
Common Repair Uses
- Sealing housing seams after reassembly
- Bonding frame edges during enclosure repair
- Sealing gaps around port and cutout openings
- Securing non-structural edge components
- Reinforcing back cover edges after a housing repair
- Finishing joint lines on repaired enclosures
- Adhesive work on small-scale bench repairs
- General reassembly tasks at the repair bench
Compatible Devices
- Universal adhesive scope, not device-specific. Use for general housing and frame work only after confirming the material compatibility of your device.
- Mobile phone housings and back covers (universal, not model-specific)
- Mobile phone frames and bezels
- Tablet enclosures and frames
- Smartwatch and small device housings
- Plastic and metal panel edges on repair parts
- Display frame and cutout surrounds
- Battery cover and door seams
- Enclosures used in service center assemblies
FAQ
What is the product name?
What is the brand of this product?
What is the model of this product?
What is this product used for?
Which devices are compatible with this product?
Who should use this product?
Does this caulking glue suit dead phone board repair?
How should I store SP6 caulking glue between jobs?
Related products